Hammer or you can use an air nailer if you have it stain andor paint. Shake the excess chalk off the design.

How To Draw A Wooden Signboard Youtube
Do what feels comfortable.

. There are a couple of ways you can install your arrow trail sign. How to Draw the Wooden Sign Step 1 To create the texture you will need to refer to Section 3 of my autumn leaves tutorial. Then place the paper print-side-up on your wood sign.
Print out and then use an End Mill router bit to route out the sign or cut out along the shape with a Jig Saw. You can oil regularly varnish or polyurethane occasionally or do nothing and let it be natural and turn gray if left outside. You may need to do 2-3 coats of each color block using your brush to sharpen the edges as needed.
You can leave it and come back or grab a hairdryer set to low heat. Draw a new outline for the fourth and third planks and then repeat the process of Steps 10-12. We usually underline though because it adds security to the sign and is easier to read.
It is often easiest to pull toward you and to rotate the wood as needed for certain lines. Step Four Carving Start by using a V-shaped tool to create the outline of the letters start at the bottom edge or corner of the first letter and work around it. Place the letter stencils onto the wood and then draw around them using a pencil and following the design.
It is usually better to put a clear finish on and let the wood show its beauty. 14 sanded plywood cut down to the size youd like to make your sign. Add those behind the sign.
For an underline like Casey you get to use your ruler and simply draw a straight line underneath the name overlapping the bottoms of the letters slightly. Leave a space equivalent to about one-quarter the width of each letter between each character--for example if your letters are 2 inches wide leave 12 inch between each letter. You can use your own texture as well.
Since the whole sign was 21 inches long we picked out one long strip of wood and had it cut down for free to 20 inches. Once a nice coat of paint is covering your wooden arrow allow it to thoroughly dry. Determine letter spacing for stencils and tape in place.
Create one final outline and 3D object for plank 5. Use a pencil to lightly write out the letters on the sign. Use a pencil and ruler to draw lines on the wood where the letters will be.
Create the shape and then create it freehand or in Word or PowerPoint. Having multiple blank patterns and templates of blank wood signs is a great benefit for saving time and money. Sand wood if needed to prepare for painting.
In my opinion this transfer method is the easiest. You may choose to shape the sign cut it square scallop the corners sandbast it or distress it with tool marks and chain whipping. After we did some more measuring and re-adjusting we were ready to nail.
This will help you get the least amount of paint bleed and the best looking end result. 1 x 2 boards see note below Option 2. When the paint has dried you can use another color of acrylic paint with a small paint brush to paint the name of your trail on the arrow.
So lets start with a how-to on this Main St. The total at Home Depot for the wood a whopping 97 cents. 12 cabinet grade plywood cut down to the size youd like to make your sign.
One pallet board at a time we leveled nailed nailed nailed nailed nailed nailed and. If needed give your piece of wood a once-over with sandpaper. You want a smooth clean surface to stencil on.
Then slowly and gently pull the tool over the lines you drew. Then draw a line parallel to the first however far down you want the underline. Rub plenty of chalk onto the back of the printed design 3.
Over the years Ive used a variety of methods to transfer graphics and fonts onto furniture and other surfaces. 1 and 15 trim nails. Find and save ideas about wood signs on Pinterest.
Once you have the use colors laid its time to embellish. Be sure to allow each coat to dry well before adding another coat. Rotate the planks and space them out a bit making the brown background more visible.
If you miscalculate or draw too big or. Using a ballpoint pen trace over the design very firmly. Print your design Click HERE to print an 10x8 Click HERE to print a 15x11 prints on 2 pages 2.
Not only is it basic and straight forward it also requires NO special equipment or products. Find a font that you want to recreate and using your word processing software type out and print out exactly what you want the sign to say. Take planks 1 and 4 create copies of them and stretch them out.
Your result should look like the wood on the left. Assemble the sign as shown below and rotate it slightly. Also make your letters the exact size you want them to be in the finished product.
To start its easiest to press the tip of the burner onto the surface of the wood slab and wait until you feel it indenting into the wood.

Hand Drawn Wooden Sign Clipart How To Draw Hands Wooden Signs Clip Art
How To Draw Wooden Weathered Signs Youtube
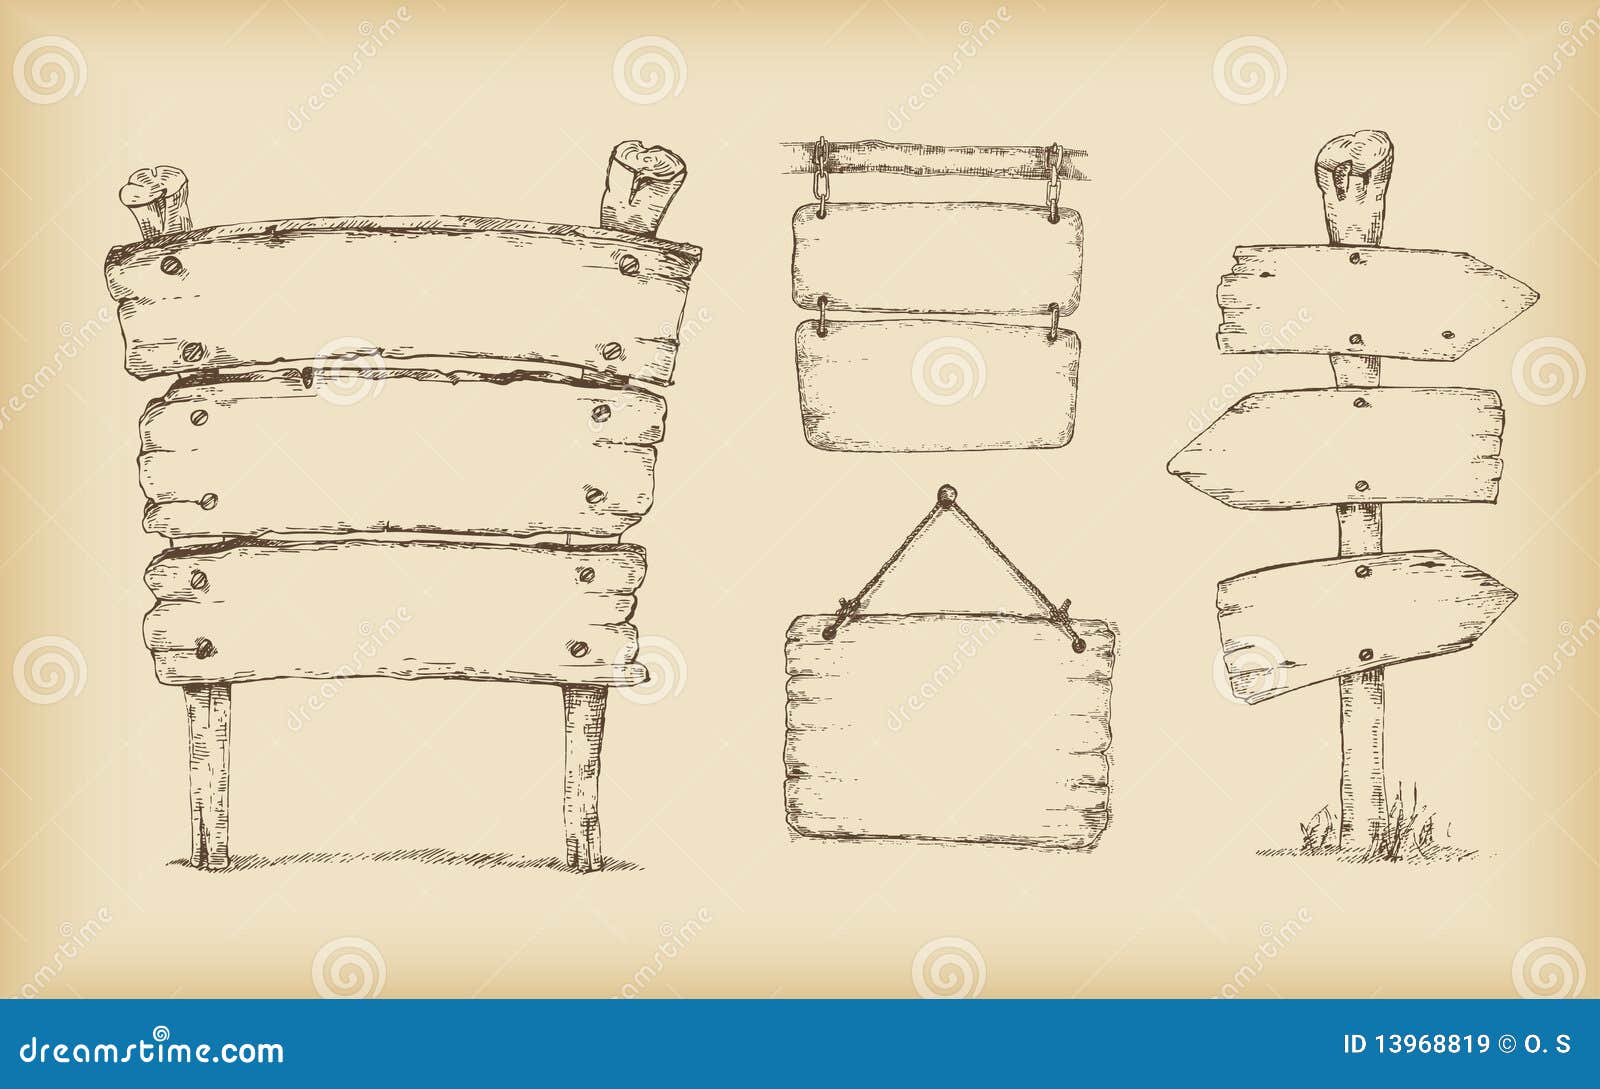
Wood Signs Drawing Stock Vector Illustration Of Blank 13968819

A Drawing Of A Wooden Sign In Grass On White Background Stock Illustration Download Image Now Istock

Hand Drawn Doodle Wood Signs And Arrows How To Draw Hands Doodles Bullet Journal Banner
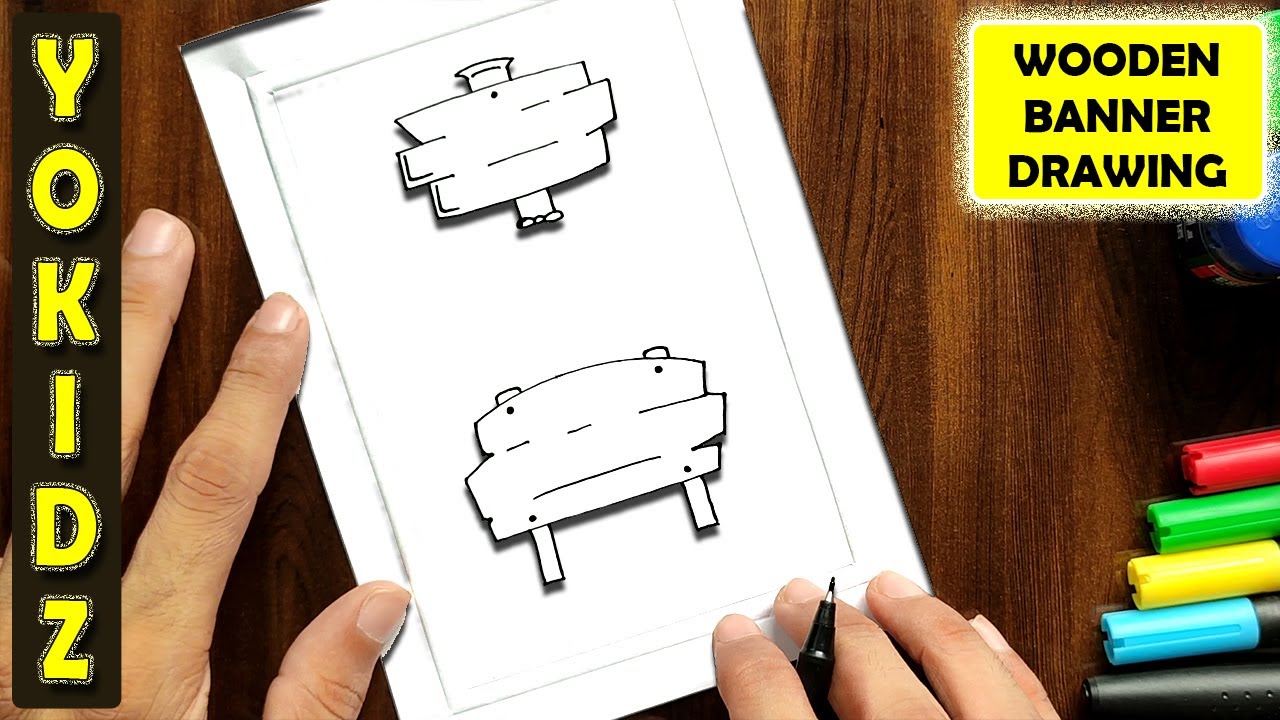
How To Draw A Wooden Signboard Youtube

Old Wooden Sign Signboard Stockvectorkunst En Meer Beelden Van Hout Istock

Doodle Wood Signs How To Draw Hands Wood Signs Doodles
0 comments
Post a Comment